Appearance
Chapter 1 - Setting Up The Project
IMPORTANT: This chapter assumes that you already have installed a recent version of Node.js on your computer. If you do not have it yet, you can download it here: https://nodejs.org/en/download/
There are many different ways to create a React app. Here we'll be leveraging TypeScript and therefore will need to setup an project with a build/transpile process that will let us make changes and verify them in real time. You could manually create this project, install all the npm packages required, create each individual file. However, it is just much easier to do this by leveraging vite[1]
However, since vite is still relatively new at the time of this book writing, it might be harder for you to find help as your code-base grows larger, so this is something to keep in mind.
I added a bonus chapter at the end of the boook with instructions on how to setup the project using create-react-app[2] instead of vite if you prefer that. Keep in mind that the use of environment variables (which will cover in chapter 7 and 9), will differ.
Create Project Wizard
To set up the project, use the terminal and execute the following node.js command:
bash
npm init vite@latestIf you do not have already installed the package create-vite@latest[3] it will prompt you to install it. In this case, type y and then enter to proceed:
bash
Need to install the following packages:
  create-vite@latest
Ok to proceed? (y)
The create-vite wizard will start and will ask you the name of the project. The default is vite-project, so change this to my-react-project and hit enter:
bash
? Project name: › my-react-projectThe second step will ask to select a framework. Use the keyboard arrows to scroll down the list and stop at React, then hit enter:
bash
? Select a framework: › - Use arrow-keys. Return to submit.
    Vanilla
    Vue
❯   React
    Preact
    Lit
    Svelte
The third step will asking which "variant" you want o use. Scroll down to TypeScript and hit enter:
bash
? Select a variant: › - Use arrow-keys. Return to submit.
    JavaScript
❯   TypeScript
This will create a folder called my-react-project which is also the name of our project. At the end it should display a message similar to this:
bash
Scaffolding project in /Volumes/projects/my-react-project...

Done. Now run:

  cd my-react-project
  npm install
  npm run dev
The first command will navigate to the current sub-directory called my-react-project, the second one will install all the npm dependencies, the third one will serve the app locally. You'll see a message similar to this displayed:
bash
VITE v3.1.4  ready in 303 ms

  ➜  Local:   127.0.0.1:5173
  ➜  Network: use --host to expose
From the web browser, navigate to the localhost:5173 address and you'll see application home page rendered:
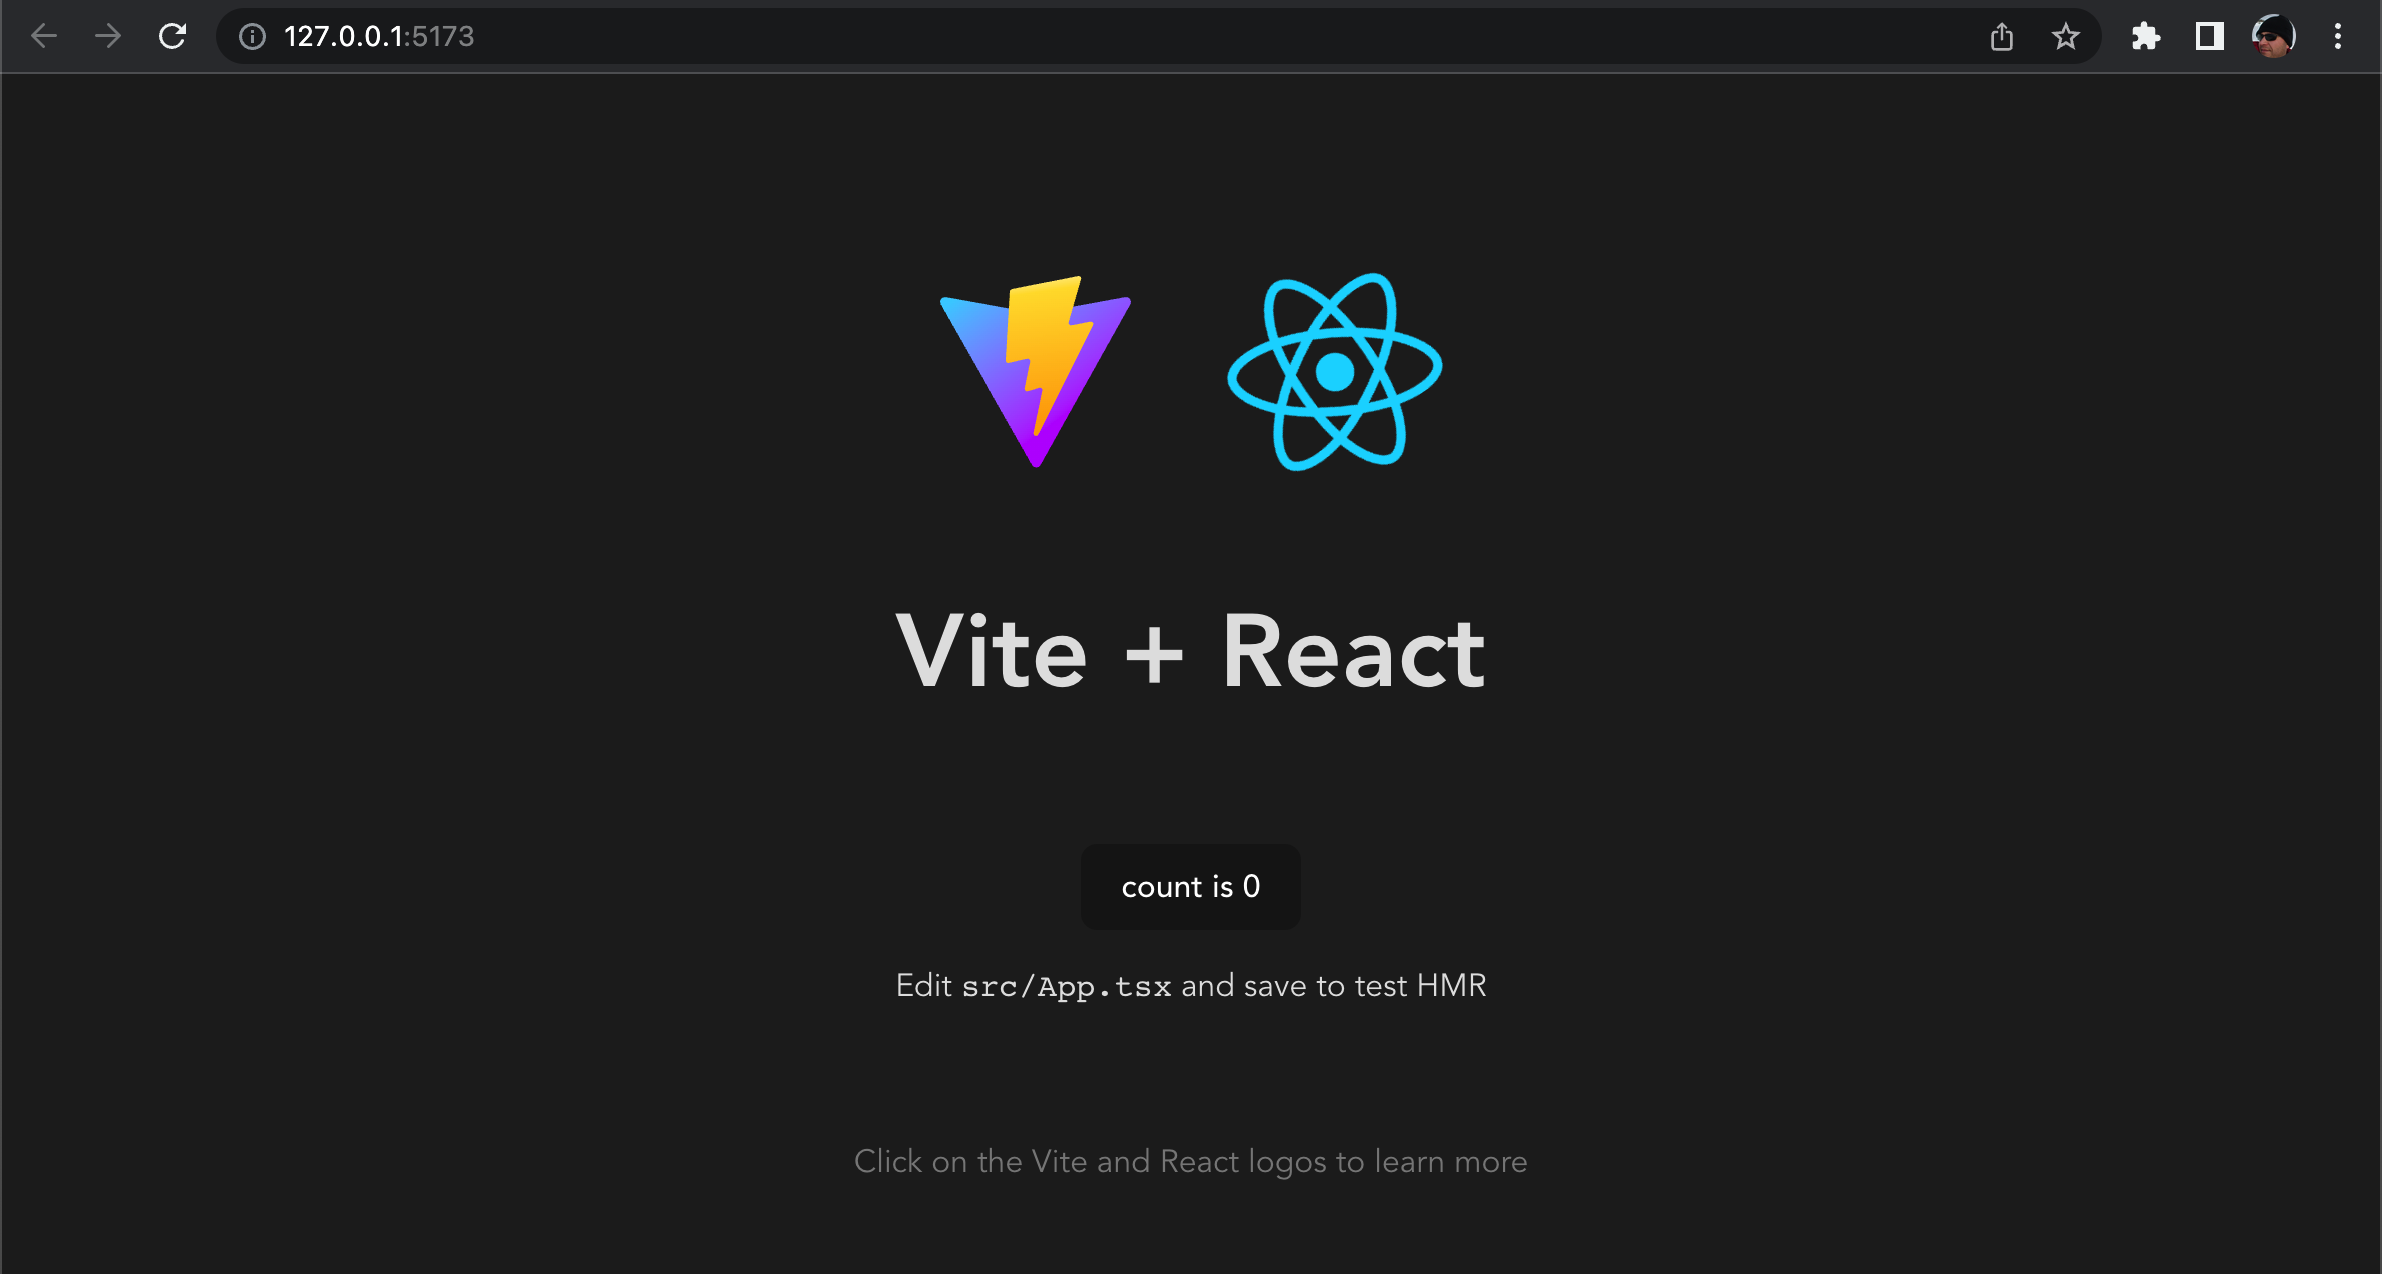
The my-react-project has been created with one main view called App.tsx.
Chapter 1 Recap
What We Learned
How to create the basic plumbing for a React app using the vite and create-vite@latest
- How to serve the app locally through the command npm run dev
Observations
- The app has been created with only preliminary code
- The app does not do much yet, has only the main App view with some static html in it Based on these observations, there are a few improvements that will be making into the next chapter:
Improvements
- Expand our app functionality by creating our first component