Appearance
Chapter 4 - Adding Events To the Items Component
In this chapter we keep building our ItemsList.component.tsx so we can handle when the user clicks on an item in the list.
ItemsList Component
Start by adding a function called handleItemClick just before the render() function. This function will handle a click on each of the <li> elements and will toggle the item.selected property from true to false or vice versa. It will also logs the item id and selected properties to the console for preliminary debugging:
tsx
// file: ItemsList.component.tsx
...
// if using class syntax
handleItemClick (item: ItemInterface) {
  item.selected = !item.selected
  console.log('handleItemClick', item.id, item.selected)
}

render() {
  ...

// or if using React.FC syntax:
const handleItemClick = (item: ItemInterface) => {
  item.selected = !item.selected
  console.log('handleItemClick', item.id, item.selected)
}

return (
  ...
Then update the return/render section of the render() function by adding an onClick attribute to the <li> element, pointing to an handler called handleItemClick and passing a reference to item as the argument:
tsx
// file: ItemsList.component.tsx
...
// if using class syntax:
render(): React.ReactNode {
    const { items } = this.props

    return (
      <div>
        <h3>Items:</h3>
        <ul>
          {
            items.map((item: any, index: number) => <li key={index} onClick={() => this.handleItemClick(item)}>{item.name}</li>)
          }
        </ul>
      </div>
    )
  }
...

// or if using React.FC syntax:
...
return (
    <div>
      <h3>Items:</h3>
      <ul>
        {
          props.items.map((item, index) => <li key={index} onClick={() => handleItemClick(item)}>{item.name}</li>
          )
        }
      </ul>
    </div>
  )
...
Note that React uses its own syntax for html attributes (because of JSX), and the standard html onclick event is called onClick (note the letter casing) in React. Additionally, the onClick attribute expect a method with a specific signature, and we should add wrap it within an inline funciton in this (or TypeSCript will throw an error):
tsx
() => handleItemClick(item)Save the file. The web browser should have refreshed, and when clicking on the items in the list you should see the message being displayed in the browser developer console, and when clicking multiple time on the same item it should print true then false etc showing that toggling is working:

Now, we learned how to add a click handler to our component and changing the data item selected property that way. However, updating the selected property within the onItemSelect will not cause React to re-render the html. This is because the data we are working with is not yet reactive.
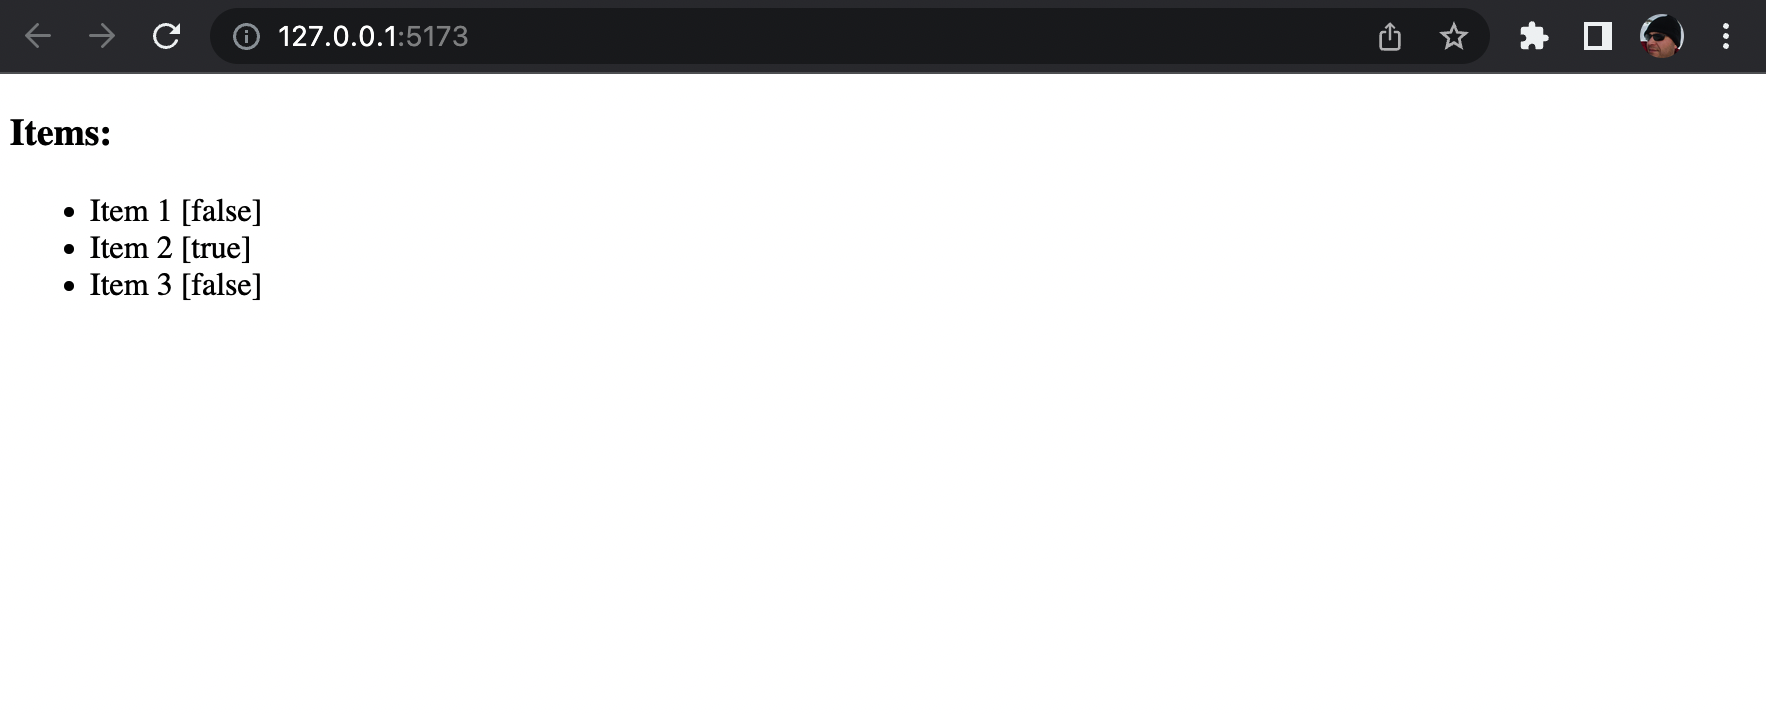
Let's verify this. Start by slightly modifying the text output by our list element, outputting also the selected value within [] (square brackets) like "[{ String(item.selected) }]":
tsx
// file: ItemsList.component.tsx
...
props.items.map((item, index) => {
            return (
              <li key={index}
                onClick={() => handleItemClick(item)}>
                  {item.name} [{ String(item.selected) }] {/* output item.selected next to the name */}
              </li>
            )
          })
...
Note: React is peculiar when rendering some types of properties. If you were trying to just render item.selected, which is a boolean, without either wrapping with String() or call item.selected.toString(), then it will never render its value.
Save and check the browser again. Notice that even though after clicking on the list items you see a message in the console with the updated value for the selected property, the html is not being re-rendered.
In order to make our data reactive, we have to use React's hook useState. Let's try this. First, lets modify the code in our ItemsListComponent so that it takes also a second property called onItemSelect.
While we add onItemSelect property, let's also refactor a bit and create a type/interface for our component properties called simply Props. There is no need for a better name as we'll not be exporting this type/interface but using it only within the ItemsList.component.tsx code:
tsx
// file: ItemsList.component.tsx

// if using the class syntax:
...
// extract type for component properties:
type Props = {
  items: ItemInterface[],
  onItemSelect: (item: ItemInterface) => void
}
// remove the type declaration within React.Component<> and replace it with Props.
// also, change the constructor signature to use Props as the type of the props argument:
export class ItemsListComponent extends React.Component<Props> {
  constructor(props: Props) {
    super(props)
  }
  ...

// or if using React.FC syntax:
...
// change the function type signature to use Props as the type of the props argument:
export const ItemsListComponent: React.FC<Props> = (props) => {
  ...
// NOTE: React is perfectly happy with normal function signatures so you could simply use this if you prefer: export const ItemsListComponent = (props: Props) => { ...

 ...
Then, modify the function onClick to just invoke the props.onItemSelect functoin that is passed by the parent component:
tsx
// file: ItemsList.component.tsx
...
handleItemClick (item: ItemInterface) {
  this.props.onItemSelect(item) // Note: you need to use the "this" prefix here only if using class syntax
}
...
Now, open the App.tsx file and lets modify some code in here. Start by importing a reference at the top to the hook useState:
tsx
import { useState } from 'react'Then remove our mock data array. Instead, within the function App(), add this code:
typescript
// file: App.tsx
...
// begin: remove code block
// mock data:
// const items: ItemInterface[] = [{
//   id: 1,
//   name: 'Item 1',
//   selected: false
// }, {
//   id: 2,
//   name: 'Item 2',
//   selected: false
// }, {
//   id: 3,
//   name: 'Item 3',
//   selected: false
// }]
// end: remove code block

function App() {
  -- markua-start-insert
  // begin: add code block
  // add the useState declaration here passing our mock-data array as an argument
  const [items, setItems] = useState<ItemInterface[]>([{
    id: 1,
    name: 'Item 1',
    selected: true
  }, {
    id: 2,
    name: 'Item 2',
    selected: false
  }, {
    id: 3,
    name: 'Item 3',
    selected: false
  }])
  // end: add code block
  -- markua-end-insert
  ...
What we are doing here is invoke the hook useState, specifying the type to be ItemInterface[], and pass our initial mock data array in it. The useState hook returns an array where the first parameter is a reference to your data, in this case items, the second parameter is a funciton that allow to update the data, in this case we called it setState.
Now let's add a function called onItemSelect. Since we are already within a function (App), we can either declare is as a arrow functoin stored into a const, or as a pure function:
typescript
// file: App.tsx
...
// either as:
function onItemSelect (item: ItemInterface) {
   ...
// or as:
const onItemSelect = (item: ItemInterface) => {
   ....
Let's go with an arrow function. Here is the full code for the function:
typescript
// file: App.tsx
...

  // begin: add code block
  const onItemSelect = (item: ItemInterface) => {
    const updatedItems = [...items]
    const found = updatedItems.find(o => o.id === item.id) as ItemInterface
    found.selected = !item.selected
    setItems(updatedItems)
    console.log('App.tsx: onItemSelect', found.id, found.selected, updatedItems)
  }
  // end: add code block

...
Finally, modify the return() section to pass our onItemSelect handler function through a property with the same on ItemsListComponent:
tsx
// file: App.tsx
...
return (
  <div className="App">
    <ItemsListComponent items={items} onItemSelect={onItemSelect}/>
  </div>
)
Here is the full update code of App.tsx:
tsx
// file: src/App.tsx
import { useState } from 'react'
// import reference to our interface
import { ItemInterface } from './models/items/Item.interface'
// import reference to your ItemsList component:
import { ItemsListComponent } from './components/items/ItemsList.component'

// component:
function App() {
  // add the useState declaration here passing our mock-data array as an argument
  const [items, setItems] = useState<ItemInterface[]>([{
    id: 1,
    name: 'Item 1',
    selected: true
  }, {
    id: 2,
    name: 'Item 2',
    selected: false
  }, {
    id: 3,
    name: 'Item 3',
    selected: false
  }])

  const onItemSelect = (item: ItemInterface) => {
    const updatedItems = [...items]
    const found = updatedItems.find(o => o.id === item.id) as ItemInterface
    found.selected = !item.selected
    setItems(updatedItems)
    console.log('App.tsx: onItemSelect', found.id, found.selected, updatedItems)
  }

  return (
    <div>
      <ItemsListComponent items={items} onItemSelect={onItemSelect}/>
    </div>
  );
}

export default App
Save the file, and check the web browser. This time, you can see the html re-rendering and the correct value, either true/false, displayed next to each item as you click on them.
Chapter 4 Recap
What We Learned
- How to add a click handler to our ItemsList component
- How to manipulate the item.selected property through our click handler
- How to use the React hook useState to create a reactive property named items, and a method to update the React state
Observations
- The items selected property is being manipulated directly within our component
- We need a more centralized way to handle changes on the data and state of the application
Based on these observations, there are a few improvements that we will make in the next chapters:
Improvements
- Implement a state manager to control our application state from a centralized place