Appearance
Chapter 4 - Microfrontend2 Project (Svelte)
For Microfrontend2 we will use the svelte[1] framework.
Create Project Wizard
To set up the project, within the directory introduction-to-micro-frontends-project, open your terminal and execute the following Node.js command:
bash
npm init vite@latestThe create-vite wizard will begin and prompt you for the project name. The default is vite-project, so change this to microfrontend2 and press enter:
bash
? Project name: › microfrontend2Next, you will be asked to select a framework. Use the keyboard arrows to navigate to Svelte and press enter:
bash
? Select a framework: › - Use arrow-keys. Return to submit.
    Vanilla
    Vue
    React
    Preact
    Lit
❯   Svelte
    Solid
    Qwik
    Others
The wizard will then ask which variant you want to use. Scroll down to TypeScript and press enter:
bash
? Select a variant: › - Use arrow-keys. Return to submit.
❯   TypeScript
    JavaScript
    SvelteKit ↗
This setup creates a folder named microfrontend2, which corresponds to the name of our project. Upon completion, you should see a message like this:
bash
Scaffolding project in /local-path-to/microfrontend2...

Done. Now run:

  cd microfrontend2
  npm install
  npm run dev
The first command navigates to the sub-directory called microfrontend2, the second installs all npm dependencies, and the third serves the app locally. You should see a message displayed like this:
bash
  VITE v5.2.8  ready in 239 ms

  ➜  Local:   http://localhost:5173/
  ➜  Network: use --host to expose
  ➜  press h + enter to show help
From your web browser, navigate to http://localhost:5173 to see the application's homepage rendered.
Stop the application by pressing CTRL + C.
Proceed to delete the file public/vite.svg as it will not be needed. Also, move the svelte.svg file from src/assets/ to the public/ directory.
Then, open the file index.html and modify the icon <link> like this:
html
<link rel="icon" type="image/svg+xml" href="/svelte.svg" />and the <title> like this:
html
<title>Microfront2</title>NOTE: This index.html will be served only when running the Microfrontend2 app in standalone mode, not from within the container-app.
Replace the App.svelte code with this:
tsx
<script lang="ts">
  import Counter from './lib/Counter.svelte'
</script>

<main>
  <Counter />
</main>
Replace the lib/Counter.svelte code with this:
tsx
<script lang="ts">
let count: number = 0
const onClick = () => {
//console.log('svelte: counter onClick')
count += 1
}
</script>
<button class="svelte-button" on:click={onClick}>
<img src="http://localhost:5002/svelte.svg" alt="Svelte Logo" style="width:1rem" />
<span>Microfrontend2: Count {count}</span>
</button>
<style>
.svelte-button {
display: flex;
align-items: center;
border-radius: 8px;
padding: 0.6em 1.2em;
background: #ffffff;
color: #000000;
cursor: pointer;
}
.svelte-button *:not(:first-child) {
margin-left: 0.25rem;
}
</style>Replace the src/app.css with this:
css
:root {
  font-family: Inter, system-ui, Avenir, Helvetica, Arial, sans-serif;
  line-height: 1.5;
  font-weight: 400;

  color-scheme: light dark;
  color: rgba(255, 255, 255, 0.87);
  background-color: #242424;

  font-synthesis: none;
  text-rendering: optimizeLegibility;
  -webkit-font-smoothing: antialiased;
  -moz-osx-font-smoothing: grayscale;
}
Finally, adjust the vite.config.ts file to customize the output directories and ensure the application runs on port 5002:
typescript
import { defineConfig } from 'vite'
import { svelte } from '@sveltejs/vite-plugin-svelte'

// This is a module app (to be consumed by the host app)
// This microfrontend uses the Svelte framework

const port = 5002

// https://vitejs.dev/config/
export default defineConfig({
  server: {
    port: port
  },
  plugins: [svelte()],
  build: {
    outDir: './microfrontend2',
    cssCodeSplit: false,
    sourcemap: false,
    minify: false,
    rollupOptions: {
      output: {
        entryFileNames: `assets/[name].js`,
        chunkFileNames: `assets/[name].js`,
        assetFileNames: `assets/[name].[ext]`
      }
    }
  }
})
Run the app again using npm run dev, and it will now be served on port 5002:
VITE v5.2.8  ready in 117 ms

  ➜  Local:   http://localhost:5002/
  ➜  Network: use --host to expose
  ➜  press h + enter to show help
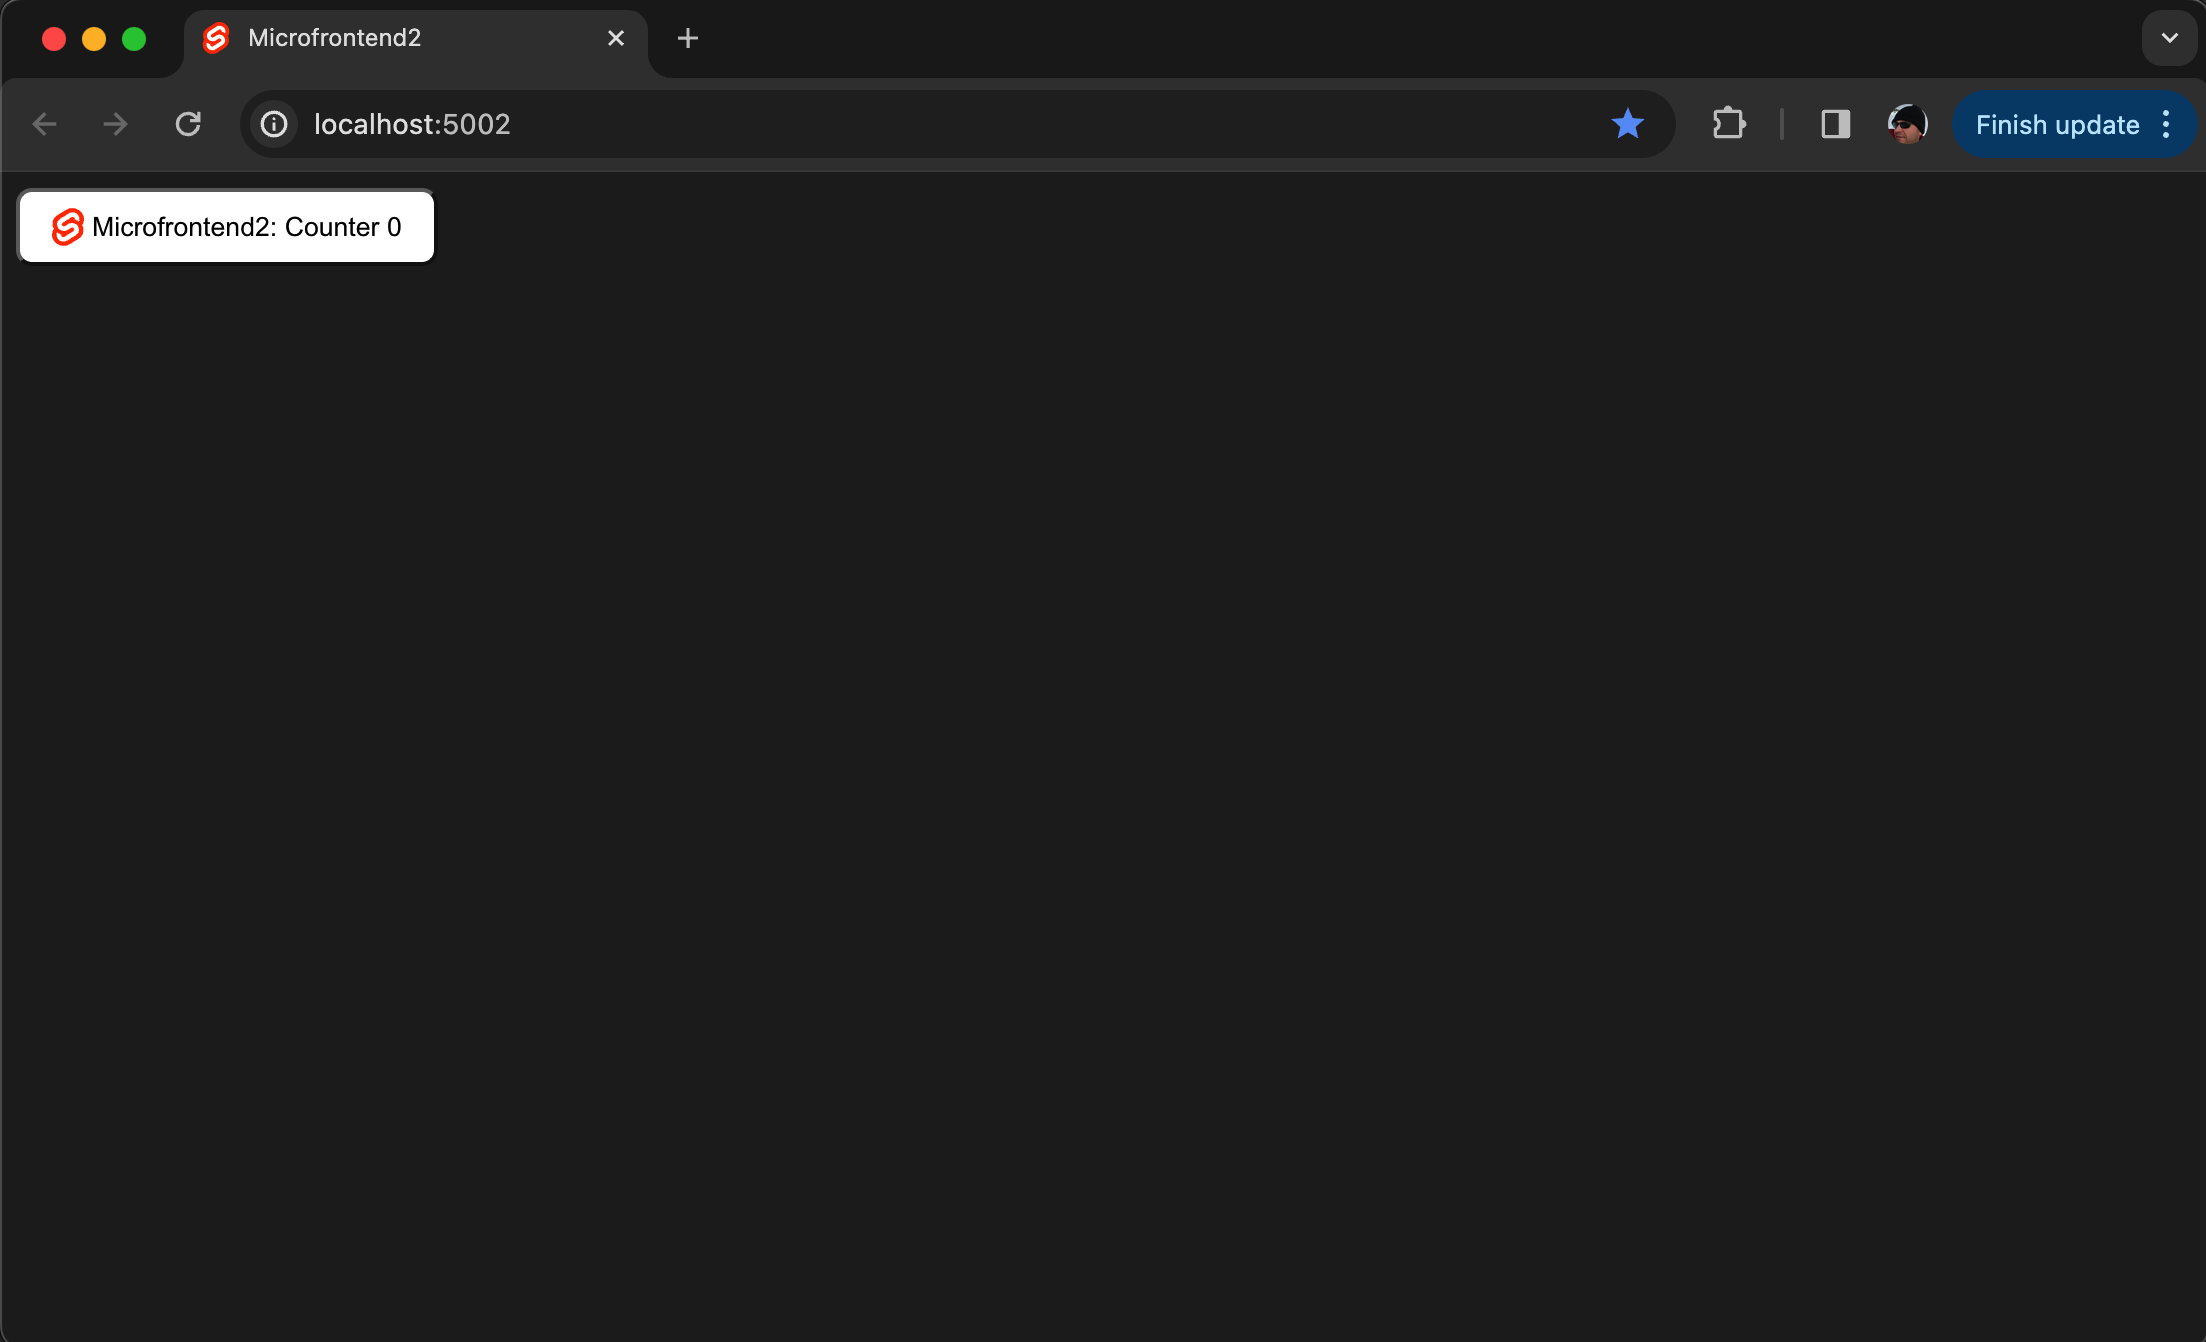
From your web browser, navigate to http://localhost:5002, and the updated interface should be displayed as shown in the screenshot.
Chapter 4 Recap
In Chapter 4, we embarked on creating and configuring Microfrontend2, utilizing the Svelte framework. This chapter was instrumental in demonstrating Svelte’s unique capabilities and integrating them into our microfrontend architecture.
Key Developments
1. Project Setup: We initiated Microfrontend2 using Vite, selecting Svelte as the framework due to its innovative approach to building reactive user interfaces with a compile-time framework architecture. The setup process included:
- Utilizing
npm init vite@latestto scaffold a new Svelte project. - Choosing TypeScript during the Vite setup to enhance the project with strong typing alongside Svelte's reactivity model.
2. Configuring the Development Environment: Adjustments to the project's build and development settings were made to optimize the Svelte microfrontend:
- Customizing
vite.config.tsto handle Svelte's specific compilation needs and to ensure efficient bundling and reloading. - Organizing the project directory to clearly separate concerns, such as by keeping scripts, styles, and Svelte components in dedicated folders.
3. Developing the Svelte Application: We focused on implementing a functional and responsive Svelte application that could operate independently or as part of the container app:
- Building key features using Svelte's reactive stores for state management and single-file components for the UI.
- Demonstrating Svelte’s straightforward reactivity concepts, which make it ideal for dynamic content updates within microfrontends.
Integration with the Container App
A significant portion of the chapter detailed the process for preparing Microfrontend2 to be dynamically managed by the container app:
- Exposing necessary lifecycle functions, such as mount and unmount, to allow the container app to initiate or terminate the Svelte app as required.
- Discussing best practices for ensuring the Svelte app cleanly integrates with and detaches from the DOM to maintain performance and prevent resource leaks.
Testing and Validation
We set up commands to build and serve Microfrontend2, checking its functionality both as a standalone app and when integrated with the main system:
- Independently running the Svelte app to verify that it meets functional and performance benchmarks.
- Loading the built Svelte app within the container app and testing the entire lifecycle from dynamic loading to unmounting.
Conclusion
Chapter 4 effectively guided the development of a robust Svelte-based microfrontend, demonstrating how to leverage Svelte’s compilation strategy and reactive updates in a microfrontend setup. By the end of the chapter, Microfrontend2 was fully prepared for seamless integration into the larger microfrontend ecosystem, ensuring that it could be dynamically loaded, displayed, and managed within the container application.