Appearance
Chapter 5 - Microfrontend3 Project (Vue)
For the Microfrontend3 we will use the vue[1] framework.
Create Project Wizard
To set up the project, within the directory introduction-to-micro-frontends-project, open your terminal and execute the following Node.js command:
bash
npm init vite@latestThe create-vite wizard will begin and prompt you for the project name. The default is vite-project, so change this to microfrontend3 and press enter:
bash
? Project name: › microfrontend3Next, you will be asked to select a framework. Use the keyboard arrows to navigate to Vue and press enter:
bash
? Select a framework: › - Use arrow-keys. Return to submit.
    Vanilla
❯   Vue
    React
    Preact
    Lit
    Svelte
    Solid
    Qwik
    Others
The wizard will then ask which variant you want to use. Scroll down to TypeScript and press enter:
bash
? Select a variant: › - Use arrow-keys. Return to submit.
❯   TypeScript
    JavaScript
    Customize with create-vue ↗
    Nuxt ↗
This setup creates a folder named microfrontend3, which corresponds to the name of our project. Upon completion, you should see a message like this:
bash
Scaffolding project in /local-path-to/microfrontend3...

Done. Now run:

  cd microfrontend3
  npm install
  npm run dev
The first command navigates to the sub-directory called microfrontend3, the second installs all npm dependencies, and the third serves the app locally. You should see a message displayed like this:
bash
  VITE v5.2.8  ready in 239 ms

  ➜  Local:   http://localhost:5173/
  ➜  Network: use --host to expose
  ➜  press h + enter to show help
From your web browser, navigate to http://localhost:5173 to see the application's homepage rendered.
Stop the application by pressing CTRL + C.
Proceed to delete the filepublic/vite.svg as it will not be needed. Also, move the vue.svg file from src/assets/ to the public/ directory.
Then, open the file index.html and modify the icon <link> like this:
html
<link rel="icon" type="image/svg+xml" href="/vue.svg" />and the <title> like this:
html
<title>Microfrontend3</title>NOTE: This index.html will be served only when running the Microfrontend2 app in standalone mode, not from within the container-app.
Replace the App.vue code with this:
tsx
<script setup lang="ts">
import Counter from './components/Counter.vue'
</script>

<template>
  <Counter />
</template>
Create a new file at the path src/components/Counter.vue with this code:
vue
<script setup lang="ts">
import { ref } from 'vue'
const count = ref(0)
const onClick = () => {
count.value += 1
console.log('vue: counter onClick')
}
</script>
<template>
<button class="vue-button" @click="onClick">
<img style="width:1rem" src="http://localhost:5003/vue.svg" class="logo vue" alt="Vue logo" />
<span>microfrontend3: Count {{ count }}</span>
</button>
</template>
<style>
.vue-button {
display: flex;
align-items: center;
border-radius: 8px;
padding: 0.6em 1.2em;
background: #ffffff;
color: #000000;
cursor: pointer;
}
.vue-button *:not(:first-child) {
margin-left: 0.25rem;
}
</style>Replace the content of the file src/style.css with this:
css
:root {
  font-family: Inter, system-ui, Avenir, Helvetica, Arial, sans-serif;
  line-height: 1.5;
  font-weight: 400;

  color-scheme: light dark;
  color: rgba(255, 255, 255, 0.87);
  background-color: #242424;

  font-synthesis: none;
  text-rendering: optimizeLegibility;
  -webkit-font-smoothing: antialiased;
  -moz-osx-font-smoothing: grayscale;
}
Finally, adjust the vite.config.ts file to customize the output directories and ensure the application runs on port 5003:
typescript
import { defineConfig } from 'vite'
import vue from '@vitejs/plugin-vue'

// This is a module app (to be consumed by the host app)
// This microfrontend uses the Vue framework

const port = 5003

// https://vitejs.dev/config/
export default defineConfig({
  server: {
    port: port
  },
  plugins: [
    vue()
  ],
  build: {
    outDir: './microfrontend3',
    cssCodeSplit: false,
    sourcemap: false,
    minify: false,
    rollupOptions: {
      output: {
        entryFileNames: `assets/[name].js`,
        chunkFileNames: `assets/[name].js`,
        assetFileNames: `assets/[name].[ext]`
      }
    }
  }
})
Run the app again using npm run dev, and it will now be served on port 5003:
bash
VITE v5.2.8  ready in 117 ms

  ➜  Local:   http://localhost:5003/
  ➜  Network: use --host to expose
  ➜  press h + enter to show help
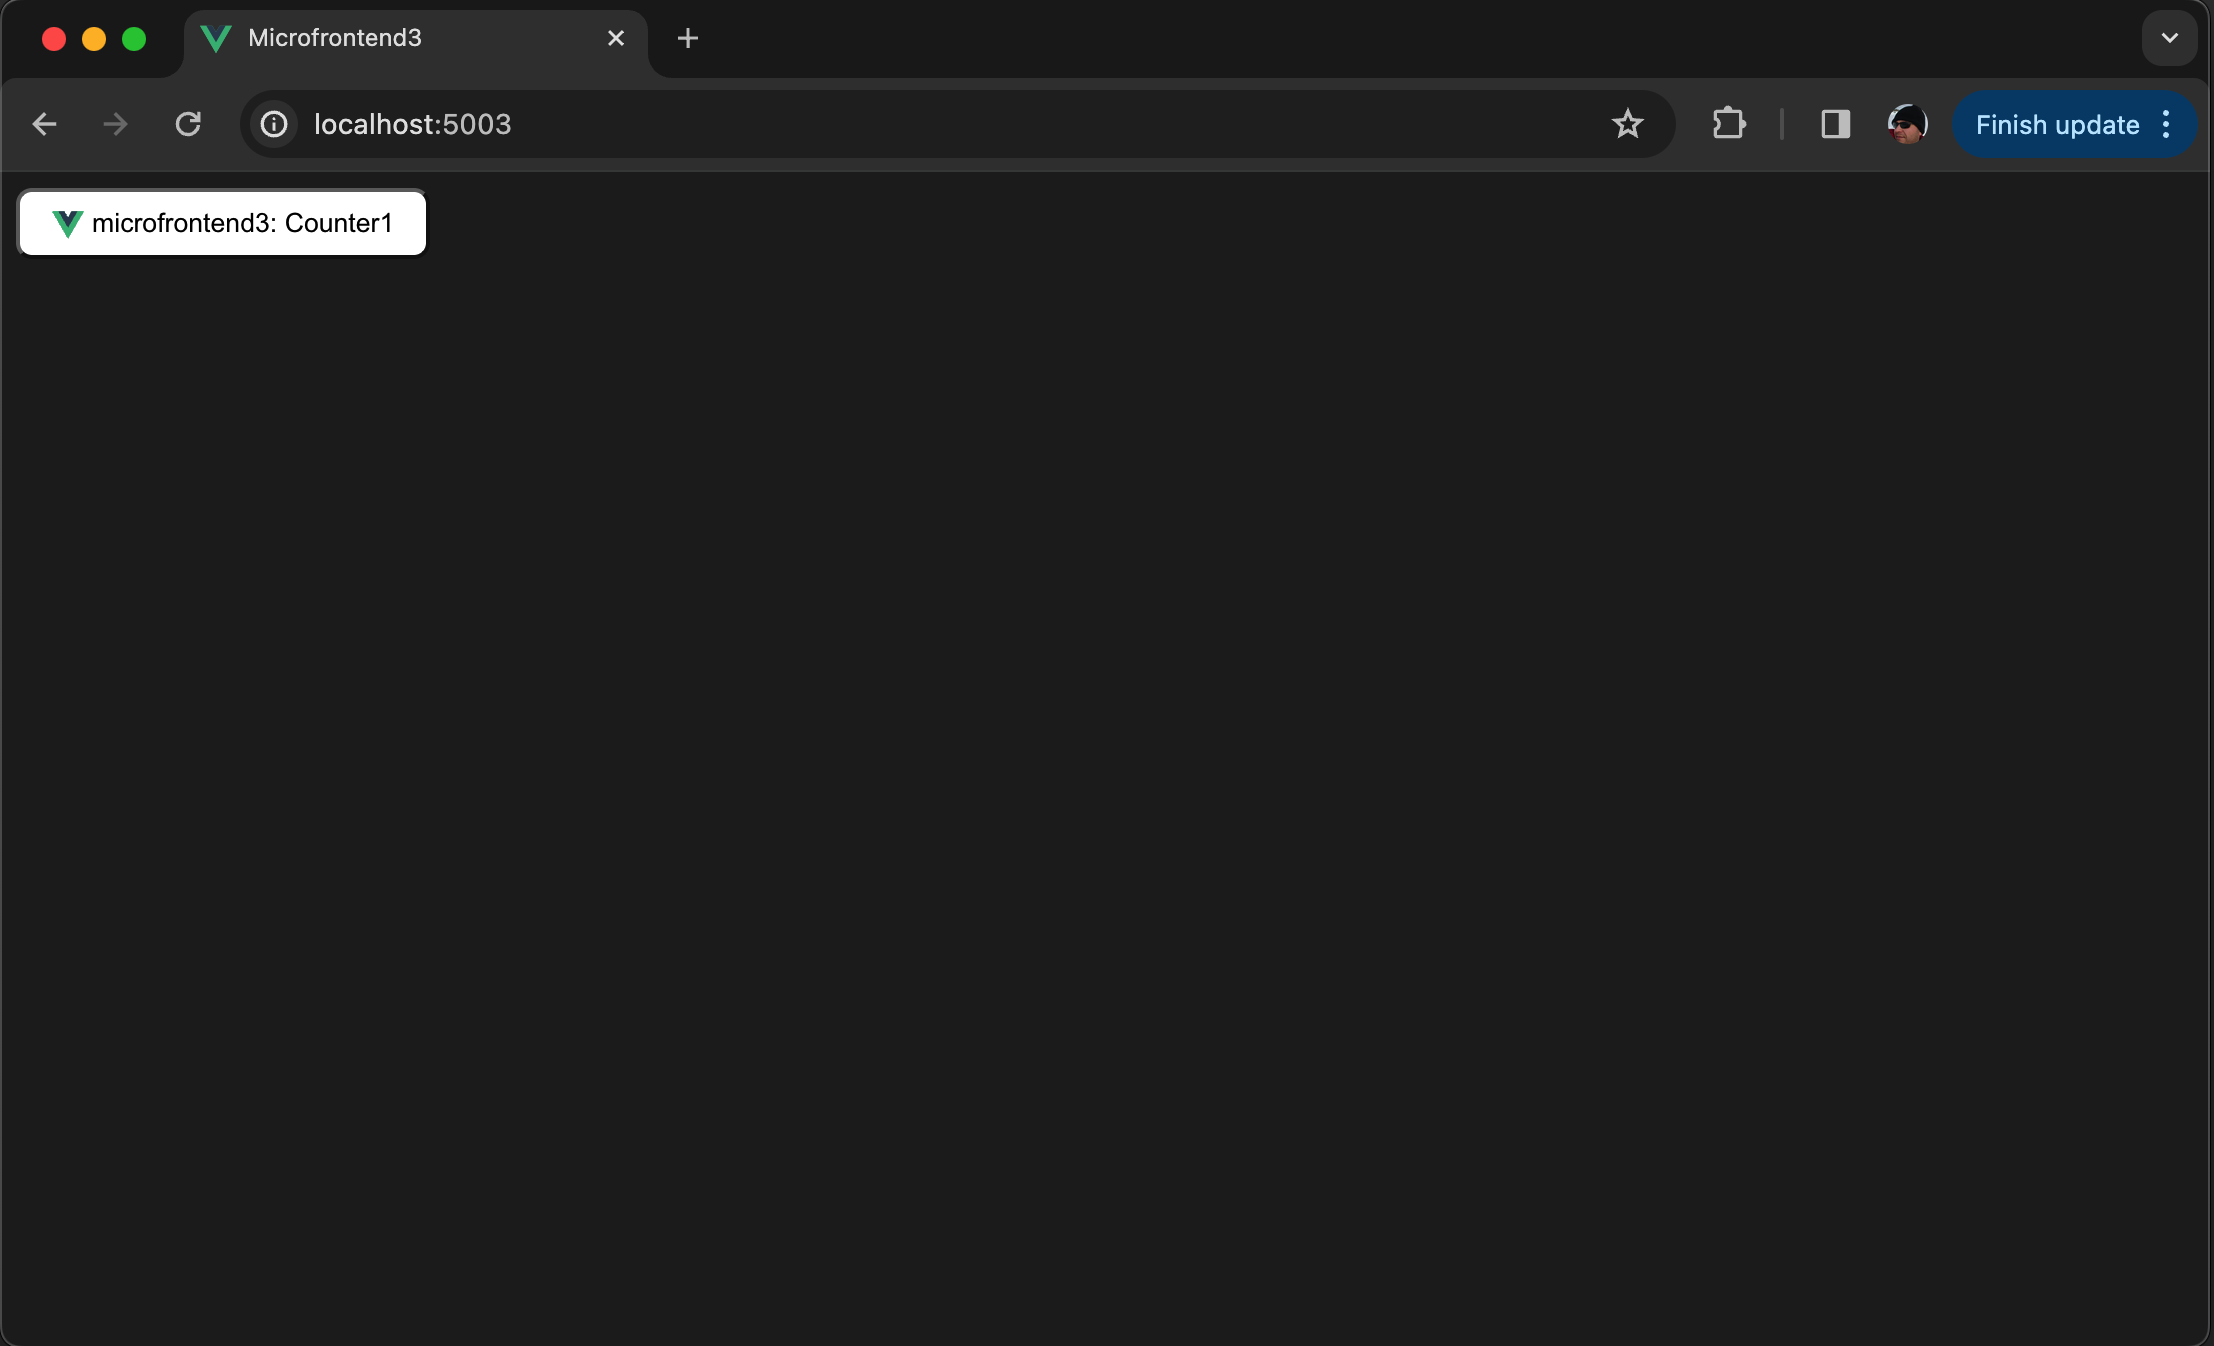
From your web browser, navigate to http://localhost:5003, and the updated interface should be displayed as shown in the screenshot.
Chapter 5 Recap
In Chapter 5, we explored the creation and configuration of Microfrontend3, a Vue.js application. This chapter was crucial for demonstrating how Vue could be effectively used in a microfrontend architecture, complementing the other microfrontends built with React and Svelte.
Key Developments
1. Project Setup: We initiated the project using Vite, which is particularly well-suited for Vue projects due to its fast cold starts and hot module replacement. The setup process involved:
- Utilizing
npm init vite@latestto scaffold a new Vue project. - Selecting Vue as the framework and TypeScript as the programming language during the Vite setup, ensuring that the project benefits from strong typing and modern JavaScript features.
2. Configuring the Development Environment: Adjustments were made to the project's configuration to optimize the development and build processes specifically for a Vue microfrontend:
- Tweaking the
vite.config.tsto properly handle Vue files. - Ensuring that the project structure is organized in a way that separates concerns and enhances maintainability, such as by placing components and assets in dedicated directories.
3. Developing the Vue Application: The core of the chapter was focused on building a functional Vue application that could stand alone for development and testing but also be integrated within the container app:
- Implementing a simple yet functional Vue application using single-file components (SFCs).
- Demonstrating the use of Vue’s reactive system within a microfrontend context to handle state and UI rendering effectively.
Integration with the Container App
A significant part of the chapter was dedicated to ensuring that Microfrontend3 could be dynamically loaded and controlled by the container app:
- Detailing how to expose the Vue microfrontend’s lifecycle hooks (like mount and unmount) to the container app, allowing for seamless integration and interaction.
- Discussing strategies for ensuring that the Vue app cleans up after itself through proper unmounting to prevent memory leaks and maintain performance.
Testing and Validation
We implemented scripts and commands to build and serve Microfrontend3, verifying its functionality both as a standalone app and as part of the larger microfrontend system:
- Running the Vue app independently to ensure it functions correctly and meets the design requirements.
- Integrating the built Vue app within the container app and testing the dynamic loading process, validating the entire flow from loading to unmounting.
Conclusion
Chapter 5 not only provided a practical guide to developing a Vue-based microfrontend but also highlighted the versatility and robustness of Vue in a microfrontend architecture. By the end of this chapter, we established a solid foundation for Microfrontend3, ensuring that it is ready for integration with the overarching container application, thus paving the way for a cohesive and scalable microfrontend ecosystem.