Appearance
Chapter 3 - Data Model Interfaces
In this chapter, we will delve into the power of TypeScript by leveraging its strong-type checking capabilities through the use of interfaces. One of the main challenges with pure JavaScript is its loosely typed nature, which can lead to unexpected behavior and bugs at run-time. This is due to the lack of checks on the type or properties of values or objects being passed around in the code. TypeScript solves this problem by providing developers with the ability to enforce strict type checking at development time through the use of interfaces, types, classes, and more.
By incorporating TypeScript into our project, we'll be able to catch potential issues and bugs before they reach the production environment, saving us time and resources in debugging and fixing. Moreover, strong-typing also improves the readability and maintainability of our code, making it easier for developers to understand the purpose and usage of values and objects in the codebase. In this chapter, we'll explore how to use interfaces and types to implement strong-typing in our project, and how it can help us ensure the reliability and quality of our code.
Models Directory
To lay the foundation for building large-scale applications, we will start by creating a new sub-directory under src called models. The organization of files and directories plays a critical role in the success of large-scale code bases. As such, it's essential to establish a consistent naming convention and directory structure from the outset. This will help ensure that the code remains organized, easy to understand, and maintainable as the application grows and the number of source files and directories increases.
You and your team are free to determine the standards that work best for you, but it's crucial to establish a set of conventions and stick to them. This will save you a significant amount of time and effort in the long run and prevent confusion and headaches as the application grows and evolves.
Interface ItemInterface
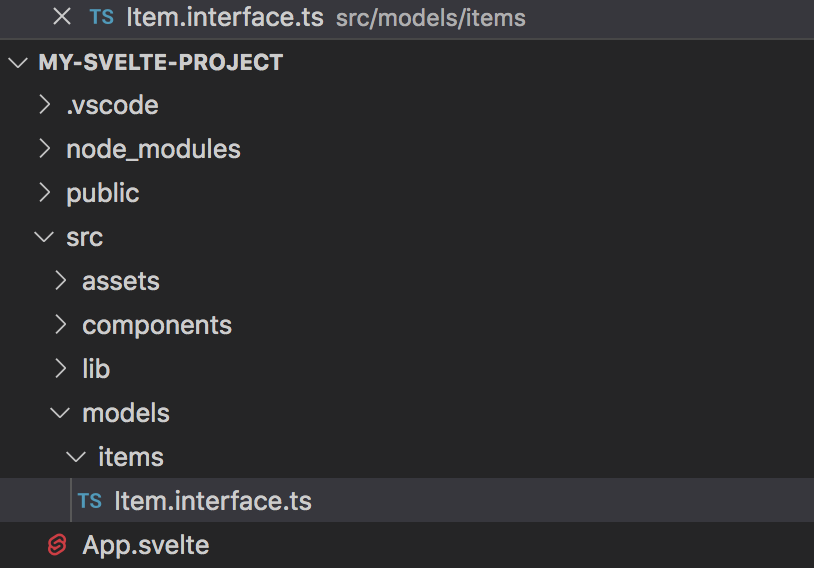
To create the interface for our items, we will create a new directory called src/models/items and add a TypeScript file named Item.interface.ts.
It's worth noting that there are different naming conventions for TypeScript interfaces, with some preferring to use a suffix like Interface, while others use a prefix like I. In this book, we will follow the suffix convention, using Item.interface.ts as the file name. However, you are free to choose your preferred naming convention or align with your organization's coding standards.
It's important to keep each interface in its own file, as this makes it easier to maintain and manage. For more information on naming conventions, please refer to the Naming Conventions section at the end of this book.
Your directory structure should now look similar to this:
Let's write an interface that represents one item that will be rendered in our Item component. Our interface will have three properties:
- id: this is a unique number for each item in the list
- name: is a string containing the name of the item
- selected: is a boolean value that shows if the user has selected the item
The code for your interface should look like this:
typescript
// file: src/models/items/Item.interface.ts

export interface ItemInterface {
  id: number
  name: string
  selected: boolean
}
For now, that is all we need. Since this will only represent a piece of data, we do not need to implement a class.
NOTE: In this case our ItemInterface only holds fields, but no methods. You can think of this more like the type struct in language like C or C#. Unfortunately TypeScript does not have an explicit struct type[1] and their guidance is to use interfaces for this.
ItemsList Component
Now that we have our interface, we can finally leverage TypeScript type checking ability by changing our items property on the items component from any[] to ItemInterface[]. First, import a reference for ItemInterface and modify our items property declaration from type any[] to type ItemInterface[]:
html
// file: src/components/items/ItemsList.component.svelte

<script lang="ts">
  // import a reference to our ItemInterace
  import type { ItemInterface } from '../../models/items/Item.interface'
  // expose a property called items with a default value of a blank array
  export let items: ItemInterface[] = [] // here replace any[] with ItemInterace[]
</script>
...
The complete update code should look like this:
html
// file: src/components/items/ItemsList.component.svelte

<script lang="ts">
  // import a reference to our ItemInterace
  import type { ItemInterface } from '../../models/items/Item.interface'
  // expose a property called items with a default value of a blank array
  export let items: ItemInterface[] = []
</script>

<div>
  <h3>My Items:</h3>
  <ul>
    {#each items as item}
      <li>
        {item.name}
      </li>
    {/each}
  </ul>
</div>
Make sure the terminal does not display any error, and that the web browser refreshed and no error are displayed in the browser console.
App.svelte
We should also update the App.svelte code so it uses the ItemInterface interface for the locally private property also called items.
Please note, that as soon as you change the items property from any[] to ItemInterface[] it will complain that each item does not correctly implement the interface. This is because we did not initially include the selected property required by the interface. This is one of the powerful things of using TypeScript correctly. It will help catch errors like this at development time rather than run time, increase the code quality and make it less prone to bugs. So make sure each item has now also a selected field with a default of false.
html
// file: src/App.svelte

<script lang="ts">
  markua-start-insert
  // import a reference to our ItemInterace
  import type { ItemInterface } from './models/items/Item.interface'
  markua-end-insert
  // import a reference to our ItemsList component
  import ItemsListComponent from './components/items/ItemsList.component.svelte'

  // mock some data:
  const items: ItemInterface[] = [{ // here change any[] to ItemInterface[]
    id: 1,
    name: 'Item 1',
    selected: false // add selected: false to each item
  }, {
    id: 2,
    name: 'Item 2',
    selected: false
  }, {
    id: 3,
    name: 'Item 3',
    selected: false
  }]
</script>

...
Again, make sure the terminal does not display any errors, and that the web browser refreshed and no error are displayed in the browser console. As you make changes is also a good idea occasionally to do an Empty Cache and Hard Reload by right clicking on the Chrome refresh icon and selecting the last option:
![]()
Chapter 3 Recap
What We Learned
- It's important to follow files and directories naming convention and structure convention
- How to leverage TypeScript interfaces and avoid using any so that strong-type checking is enforced at development time and avoiding potential runtime errors or hidden bugs
Observations
- The App.svelte contains a local variable that holds hard-coded mocked data that enabled us to prototype our component quickly
- ItemsList.component.svelte just displays the list of items, but the user has still no ability to click on them to change their selected property
Based on these observations, there are a few improvements that we will make into the next chapter:
Improvements
- Update our component so that when a user clicks on an item displayed on the page, the item selected property will toggle from false to true (and vice versa)
There have been suggestions presented, but I do not think they will ever add a struct type. See the TypeScript team answers here: https://github.com/microsoft/TypeScript/issues/22101 ↩︎